Bucks County Soapstone Company

Care & Maintenance

The recommended maintenance for your soapstone is dependent upon what you want your countertops to look like–the gray look or the dark look. The application of oil or wax isn’t necessary to protect the soapstone, but it does have an impact on the overall aesthetic. Stop in the showroom and you’ll hear our founder’s recommendation:

Apply mineral oil to your countertops twice a week for one month and then decide what you want to do from there. The logic here is that by oiling the tops during this period you will be building a base, then the areas where you do food prep and cooking will stay dark because you feed them in the natural course of use. This builds a “use patina” and a use patina is maintained by just using the tops.

It’s important to us that you know what to expect with the care and maintenance of your soapstone. Soapstone is soft and it will get scratches, these scratches will blend into the “use patina” and become unnoticeable. Soapstone is meant to fit seamlessly into beautifully curated spaces without dominating the room or taking away from other detailed architecture and design elements.

Step 1

 Dig out the sandpaper that our install team left for you or purchase a few more and lightly sand in a circular motion.  Check your work and see if you need apply a little more elbow grease or if the scratch is gone.

Step 2

Clean the area so that it is free of dust.

Step 3

Dry the area before oiling.

Step 4

With your oiling cloth, apply oil to the area. Sanding will remove the patina that has built up so you may need to give the sanded area a little more love so it will blend in with the rest of the counters.

Step 5

Remember to wipe off the excess with a paper towel or clean cloth.

The Gray Look vs The Dark Look

Cleaning Products, Sealers, & Oils

Any cleaner is acceptable to use on soapstone, but for daily cleaning, we recommend a gentle dish soap. To lighten the appearance of your soapstone countertop, use a more aggressive cleaner that is capable of stripping the mineral oils.

We do not recommend using sealers on soapstone because sealers are designed to penetrate and seal a surface. As a nonporous stone, sealers will not be able to penetrate soapstone and therefore will not bond as effectively. If you prefer to use a sealer on your countertops, you MUST follow a strict sealing schedule to avoid unpredictable spots. If you do decide to use a sealer on your countertops we have tested and found DuPont™ BulletProof® sealer to be very user-friendly.

You can order our specially formulated Mineral Oil here, or visit us at our showroom where you can purchase it for $15, or bring your old bottle back for a discount! Our oil is easy to apply in comparison to the thick consistency of most drugstore oils.

The shade of your countertops is based on personal preference–opting to oil more often will keep your countertops darker, while easing up on the oil leads to a lighter, gray look! There is no set oiling schedule for either look, just apply oil when your counters are lighter than you’d like.

Oiling

The Dark Look
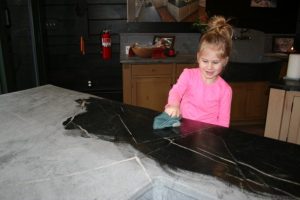
  • Make sure your countertops are clean and dry.
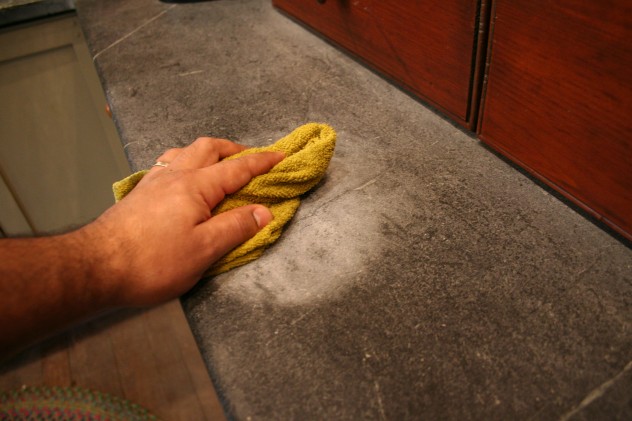
  • Use a clean cotton cloth to apply oil
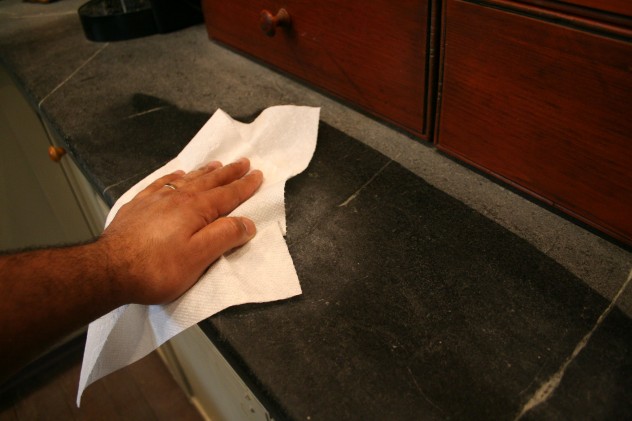
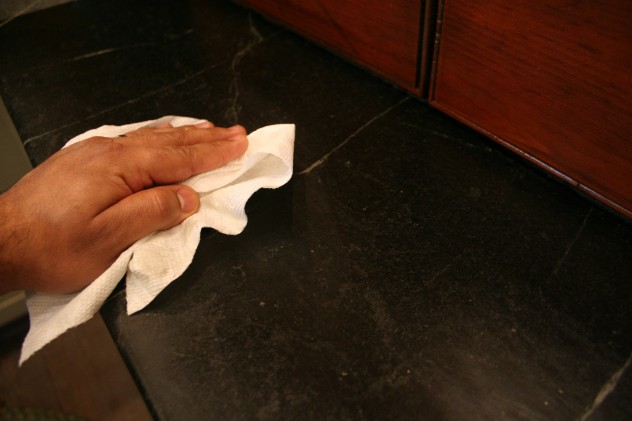
  • Use another cloth or a paper towel to remove excess oil.
    • There is no reason to wait to remove excess oil, as the oil does not need to “sink in” due to the nonporous nature of soapstone.
    • We recommend that you apply oil to the entire top before wiping off the excess.
  • After the first application, save the cotton cloth in a zip-lock bag to use next time.
The Gray Look
  • Simply leave your countertops unoiled!
  • Keep in mind your Soapstone will darken over time as it comes into contact with oil, even if it is just the oil in your hands.
    • If unwanted dark spots develop, you can do the following:
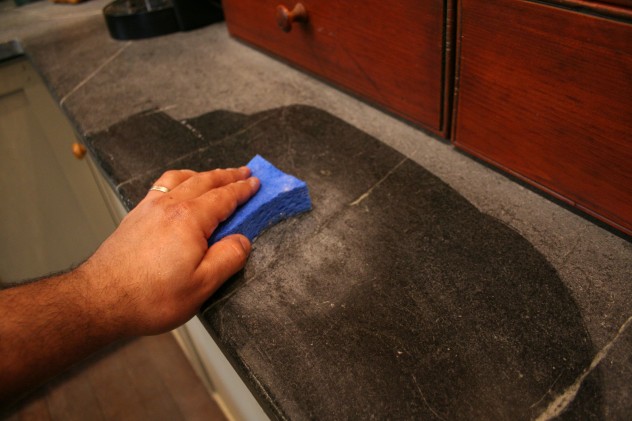
      • Scrub your counters with a more aggressive cleaner (ex. Simple Green).
      • Strip off spilled oils with a degreaser.
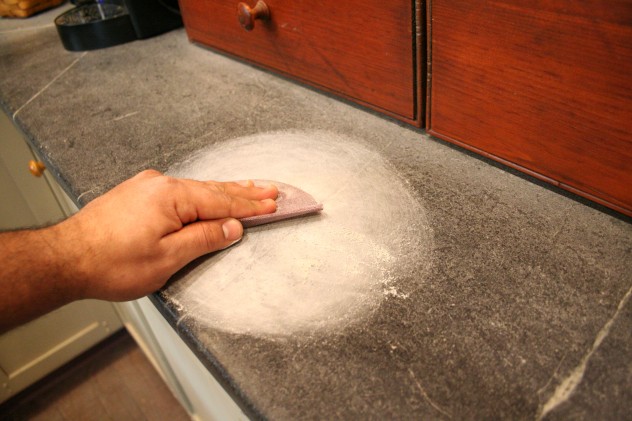
To buff out scratches
  • Using sandpaper, lightly sand the scratch in a circular motion.
    • For smaller scratches use 150 grit sandpaper
    • For larger scratches start with 80 grit and finish
    • You can purchase a sandpaper at your local hardware store.
  • Clean the area so that it is free of dust.
  • Dry the area.
  • With your oiling cloth, apply oil to the area.
    • Sanding will remove the patina that has built up so you may need to give the sanded area a little more love to ensure that it blends in with the rest of the counter.

Wipe off excess oil with a clean cloth or paper towel.

Tools and Additional Products

Hole Saw

A hole saw helps you add instant hot, air switches, or soap dispensers. Don’t use excessive force when using these drill bits, let the tool do the work. We recommend drilling down ⅔ of the way from the top of the soapstone, and the remaining ⅓ of the hole from below.

**Don’t forget your safety glasses!

Random Orbit Sander

Refinishing your countertops is easy with a random orbit sander. Our recommendations for use are:

Countertops: 150 grit sandpaper

Flooring: 80 grit sandpaper

Round File

Use a round file to enlarge holes for new faucets or other accessories.

We recommend that you do all filing on the DOWN STROKE

Shower Drains

Our shower pans are made to accept most standard shower drains.

Sink Strainers

We recommend a Kohler® K-8801 strainer to install with our hand-built sinks

You can purchase a Kohler® K-8801 strainer at Kohler.com.

Grout

We recommend using Polyblend® non-sanded grout with your soapstone

FlexBond™ and Wonderboard®

When setting the soapstone tile, we recommend installing Wonderboard® using FlexBond™ thin-set adhesive with a 3/8” notched trowel.

Once the Wonderboard® is set, use the recommended screws to fasten it to the floor. Set the screws approximately 6 inches apart.

Let this set overnight and then set your tile with the same thin-set and trowel.